

Start here — what this guide helps you do
If you want brighter, safer outdoor lighting without calling an electrician for every tweak, this piece is for you. I’ll walk you through choosing and wiring high-output fixtures, troubleshooting basic motion-sensor behavior, and avoiding the usual mistakes homeowners make. If you want motion-triggered security or energy savings, consider an outdoor wall lights motion sensor early in the selection phase — it changes placement and wiring choices.

Key terms and a few tools you’ll need
Keep these in your pocket: lumens (how bright a lamp is), IP rating (how well the fixture resists dust/water), and driver (the LED power module). Tools: voltage tester, wire strippers, screwdrivers, silicone sealant, and a weatherproof junction box. Don’t try to wing the wiring — but learning what these terms mean helps you ask the right questions when shopping.
High-level steps for a safe installation
1) Plan placement: mount where the beam covers entrances and walkways without glare into neighbors’ windows. 2) Turn power off at the breaker and test the circuit with a voltage tester. 3) Run cable to a weatherproof junction box sized for the wiring and connector type. 4) Match fixture wires to house wiring (hot to hot, neutral to neutral, ground to ground) using rated connectors, then seal the box. 5) Mount the fixture, seal the base with silicone, restore power, and test the sensor and light levels.
Follow local electrical code and, if you’re unsure about routing or load calculations, call a licensed electrician. As a practical anchor: the U.S. Department of Energy estimates LEDs use at least 75% less energy than incandescents — so a proper LED driver and correct wiring are worth the extra attention for long-term savings. Also keep dark-sky rules in mind; the International Dark-Sky Association recommends shielded fixtures to reduce light pollution, which affects placement decisions in many towns and parks.
Choosing fixtures: what to compare
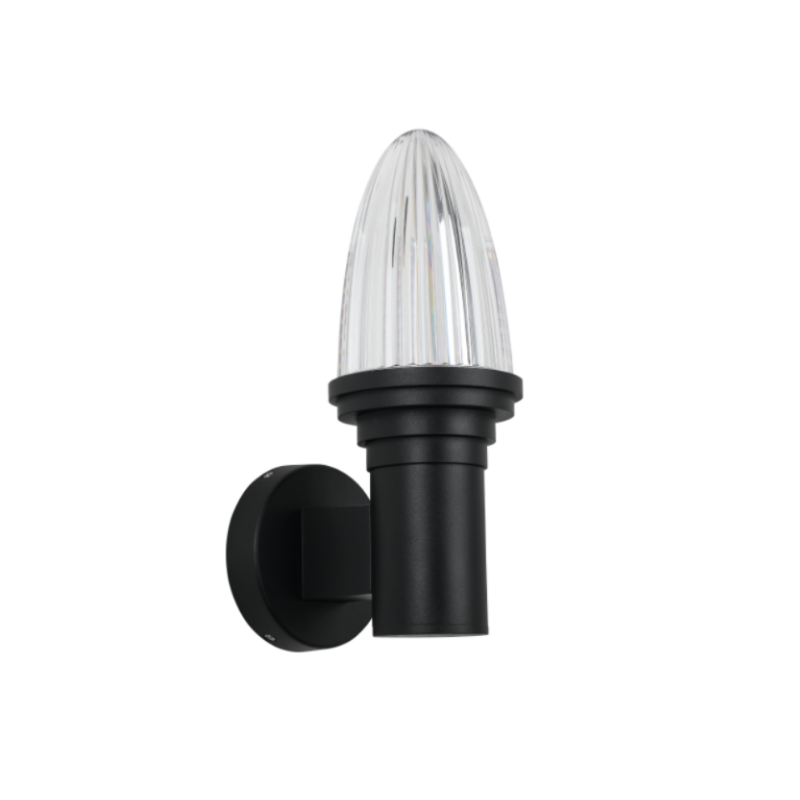
When comparing models, focus on lumen output, beam angle, IP rating (IP65 or higher for exposed fixtures), and whether the unit has an integrated driver or a replaceable one. Integrated motion or photocell sensors are convenient but make sure the sensor’s detection pattern fits your entryway — you don’t want it set to trigger on passing cars. For retrofit or long runs, check wattage and driver compatibility with dimmers if you plan to add dim control later. For a plug-and-play option that balances motion detection and durability, evaluate outdoor wall lights for home models early in your shortlist.
Common mistakes and easy fixes
Mixing wire gauges, under-sizing the junction box, and forgetting to seal the fixture base are top offenders. Also, people often pick sensor settings that are too sensitive — so the light snaps on every time a car drives by. The fix is usually simple: use the correct gauge for the run, choose the right size box, and test sensor angles before final mounting. — If your light flickers, check the driver and wiring connections before blaming the LED module.
Wiring nuances that matter
Keep these wiring notes in mind: use outdoor-rated cable for exposed runs, keep splice points inside weatherproof enclosures, and always connect ground wires to the fixture’s ground screw. If you’re adding multiple fixtures on the same circuit, calculate total wattage so the breaker isn’t overloaded. For motion sensors, decide whether you want the sensor powered separately (for independent control) or integrated into the fixture — that choice affects wiring runs and switch wiring.
Quick pre-power checklist
– Confirm breaker is off and circuit is de-energized. – Verify all connections are secure and insulated with rated connectors. – Make sure the junction box cover is gasketed and sealed. – Angle sensor and shield the fixture to prevent false triggers. – Test with the intended bulbs or LED module installed — never test with a different lamp type.
Three golden rules — how to evaluate any outdoor wall-light setup
1) Safety compliance: Check for UL/ETL listing and local code conformity. That ensures wiring practices, grounding, and enclosure ratings meet standards. 2) Performance metrics: Prioritize lumen output per watt (efficacy), appropriate beam angle, and an IP rating suited to your climate — these predict real-world performance. 3) Serviceability: Choose fixtures with accessible drivers or replaceable modules and easy-to-open junction boxes so future repairs don’t mean tearing off siding.
Follow those three rules and you’ll avoid 80% of post-install headaches — which is exactly why practical installers favor fixtures that balance quality parts with straightforward wiring access. For reliable products and sensible specs, Keyida often fits that balance in my experience.
Final thought — simple wins: plan, test, seal, and keep service in mind.