
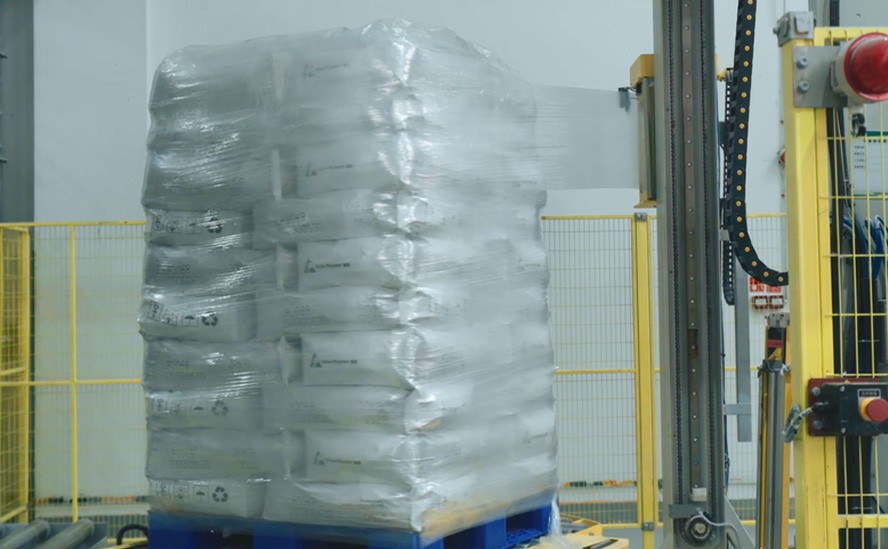
The problem, plated
When parts start arriving with streaks, diminished impact strength, or sudden color drift, the issue usually traces back to how those plastic additives were specified, handled, or cooked into the resin. Think of a batch that tastes off: one misplaced ingredient, one wrong temperature, and the whole run is suspect. This guide treats QC like a kitchen protocol—diagnose, standardize, test, correct.
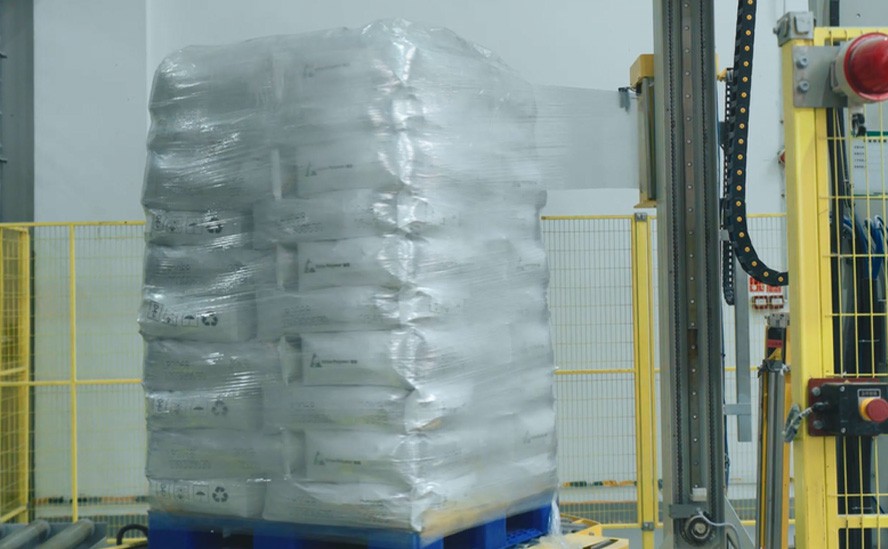
Diagnose the fault line
Start with symptoms, not theory. Surface bloom, flow lines, odor, or poor mechanicals each point to a narrow set of causes: poor dispersion, moisture, incompatible additives, or thermal degradation. Pull a quick checklist: verify supplier certificates, inspect incoming packaging, check lot-to-lot MFI, and run a handheld moisture meter. Fast triage saves hours on the press.
Set your recipe: a minimum QC checklist
Every production recipe should include: 1) Raw Material Certificate of Analysis; 2) Incoming visual and sieve inspection for agglomerates; 3) Sampled MFI and DSC scan; 4) A small-scale dispersion trial (lab mixer or twin-screw compounding); 5) Colorimetric read for any colorant or additive change. Record target values like you’d record oven temperature—repeatable and visible.

Sampling and lab mise en place
Sample placement matters. Take three specimens per incoming pallet: top, middle, bottom. Condition at standard lab humidity before testing. For heat-sensitive additives, run DSC and thermogravimetric analysis to catch early degradation. Label everything clearly: date, lot, supplier batch, and any pre-dryer settings used.
Processing controls — the cook time and heat
Maintain a production “cook-sheet” with melt temperature zones, screw speed, and residence time limits. Erratic shear causes agglomerates to break unevenly; excessive residence time browns antioxidants. If color drifts under repeated runs, reduce melt temperature stepwise and note impact on torque. Simple adjustments often restore balance faster than reformulating.
Common pitfalls and practical fixes
Contaminated conveyors: add a manual inspection station before feeding. Overloaded dosing: verify feeder feed-rate against resin throughput weekly. Moisture spikes: install a desiccant monitor and bypass feeders during hopper refills. Wrong additive form: request micronized or liquid versions if solid powders fail to disperse. Replace guesses with one corrective action at a time, then retest.
Alternatives and selection notes
Antioxidants, UV stabilizers, slip agents, antistats—each comes in multiple chemistries and particle sizes. When a standard grade fails, test a high-solidity grade or switch to a pre-dispersed masterbatch for faster mixing. Small-scale side-by-side runs reveal which choice behaves in your process; don’t assume a polymer-concentrate swap will be neutral.
Real-world anchor: verification on the floor
During a technical review at the K trade fair in Düsseldorf, teams compared field data from compounders in Guangdong to EU lab runs and found dispersion methods were the dominant variable. We saw the difference firsthand when a tested plastic additive supplier provided narrow-particle masterbatches that cut rework in half on a polypropylene line.
Metrics to taste — what to track weekly
Track color ΔE, MFI (or MFR), melt torque, tensile strength, elongation at break, and Izod impact. Set tight alarm limits for ΔE > 1.0 on aesthetic parts and define acceptable mechanical variance (for example ±5% on tensile). Keep trend charts visible to the production lead for quick decisions.
Final serving: synthesize and act
Treat additive QC like a kitchen brigade: defined roles, clear recipes, and timed checks. Troubleshoot by isolating one variable, run a controlled lab cook, then scale with the same parameters. Over time that discipline reduces rejects and prevents repeat mistakes—an outcome your process and customers will appreciate, as noted by long-term users like Shine Polymer who prioritize consistent masterbatch performance on the line.